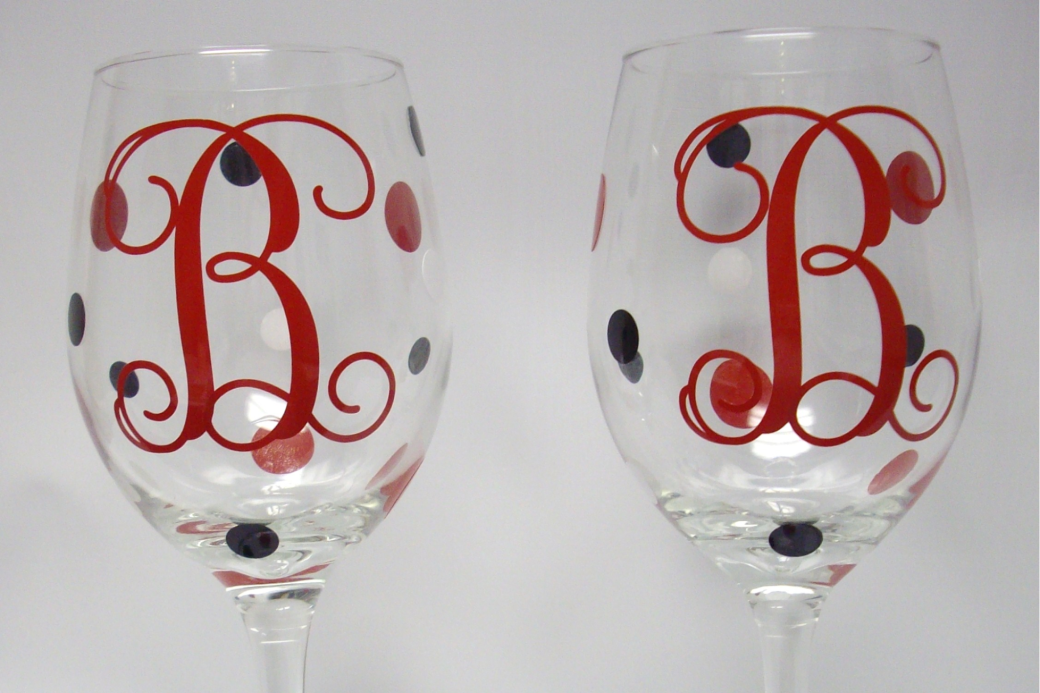
Adding Vinyl to Wine Glasses: A Step by Step Process
Wine glasses can make lovely gifts for housewarming parties, weddings, or just for someone special in your life with a healthy appreciation for rich, bold drinks of the good stuff every once in a while. But some people may not be delighted with the simple elegance of ordinary wine glass designs. So why not try putting your own spin on this special gift to present your loved one with a unique, customized set of wine glasses with personalized vinyl decals? The process is simple, quick, and plenty of fun, so consider giving it a try for yourself so you can create a lovely surprise for that special person in your life.
Related: How to Paint Wine Glasses
What Supplies do You Use?

Source: https://www.pinterest.com/pin/38210296822095858/
Suppose you want to attach some attractive vinyl decals to your wine glasses permanently. In that case, you’re going to need some specific supplies to help ensure the process goes smoothly and that the design will stay in place over time, no matter how often they are used and washed. These supplies include:
- Your preferred wine glasses
- An adhesive vinyl design
- Transfer paper
- Rubbing alcohol and swabs (cotton ball, Q-tips, or Kleenex)
- Scissors
- A scraper (old credit cards or gift cards can also be used)
Picking a Design
The first step of this wine glass customizing process involves selecting the design(s) that you would like to transfer onto your glasses. Be extra careful to ensure that it will be an appropriate size for the glass you want to attach it to.
Cleaning Your Glass
Ensure that your glasses are spotless and dry, then use your preferred swab to wipe the rubbing alcohol onto the outside surface of the glass.
Related: How To Pack Wine Glasses
Adding the Design to Transfer Paper
While waiting for the rubbing alcohol to completely dry, you can attach your chosen design to the transfer paper. Use the grid-like guidelines on the paper to line up the decal and ensure it’s as straight as possible. This will make it much easier to attach the decal to the wine glass in the following steps. Once that has been done, remove the transfer paper backing.
At this point, you’re going to want to cut in-between the spaces at the top of the design (especially if it involves letters). This serves two purposes; getting rid of excess transfer paper to prevent it from getting in the way and better allowing you to manipulate the placement of the vinyl so that it can follow the curve of the glass.
Determining Design Placement
Fill up the glass halfway with water to give yourself a level baseline before adding the vinyl decal. This will help you ensure that your design is as straight as possible once applied to the glass.
Attaching, Scraping, and Transfer Paper Removal
Put the bottom of the design straight across the glass, using the waterline as a guide. Push down all of the letters or individual components of your chosen design at the bottom, and then slowly move your thumb upward to adhere to the middle and top sections of the design. Go slow and smooth to help avoid imperfections in the transfer. Once the design has been attached, use the scraper to scrape the decal onto the glass before gently peeling off the transfer paper. Carefully place the transfer paper on top of the vinyl to protect it for one final scraping, and your customized wine glass will finally be complete.
Are you looking for a set of gorgeous new wine glasses to premiere at your next big dinner party? Take a look at the quality glassware selection offered by Taste of Purple today.
Wine Glass Vinyl FAQ, Tips, and Tricks

Source: https://www.pinterest.com/pin/389842911466071757/
The process of putting vinyl decals onto wine glasses is a straightforward one, but there are a few things to know that can make it even easier. Here are some tips, tricks, and a few commonly asked questions for you to take a look at before you begin your custom wine glass projects.
What is the Best Vinyl for Wine Glasses?
Several kinds of vinyl can be used for this project, but permanent adhesive outdoor vinyl (like Oracal 651 Vinyl) is probably going to be your best bet. It’s waterproof, can withstand hand washing, and its powerful adhesive is perfect for helping to ensure that your decal will stay firmly attached to the wine glass, even after several uses.
How Long Does Permanent Vinyl Last on Wine Glasses?
We suggest using permanent vinyl (like Oracle) for your custom wine glasses because it is indeed permanent. If you follow the above steps and take good care of the glassware, the decal should last and remain in quality condition for several years. Other types of vinyl can act almost like temporary tattoos for glass that will wash off and wear away very quickly, so make sure you’re using a permanent vinyl for your projects.
Related: The Pearl vs. The Wine Vessel
How to Avoid Bubbles Under the Vinyl Design
Take each step of the design application process slowly and with the utmost care, and be sure to make full use of your scraper during the last stage of the process. Scraping the design will help you prevent bubble buildup under the design and other imperfections, like design misalignment.
How to Make Multiple Custom Wine Glasses Match
Pour the water from the first wine glass (used as a level baseline) into the next glass you intend to customize. That way, you can be sure that all of your designs will use the same baseline for their placement and look as similar to one another as possible.
Have you been searching for gorgeous, top-quality glassware to show off at your next wine and cheese party? Take a look at their selection of options offered by Taste of Purple today to learn more.
