

Painting a wine glass can be an incredibly fun DIY project that you can enjoy alone or on a friends' wine and crafts night! Hand-painted wine glasses are too much fun to create and make great presents for significant others or family and friends. It is easy for beginners to get started on creating beautiful designs and art on their wine glasses with only a few materials! Get ready to put on some of your favorite tunes, pour a glass of your favorite white or red, and get painting. This guide will show you everything you need to paint artful wine glasses for any occasion.
Related: Aging Wine Underwater
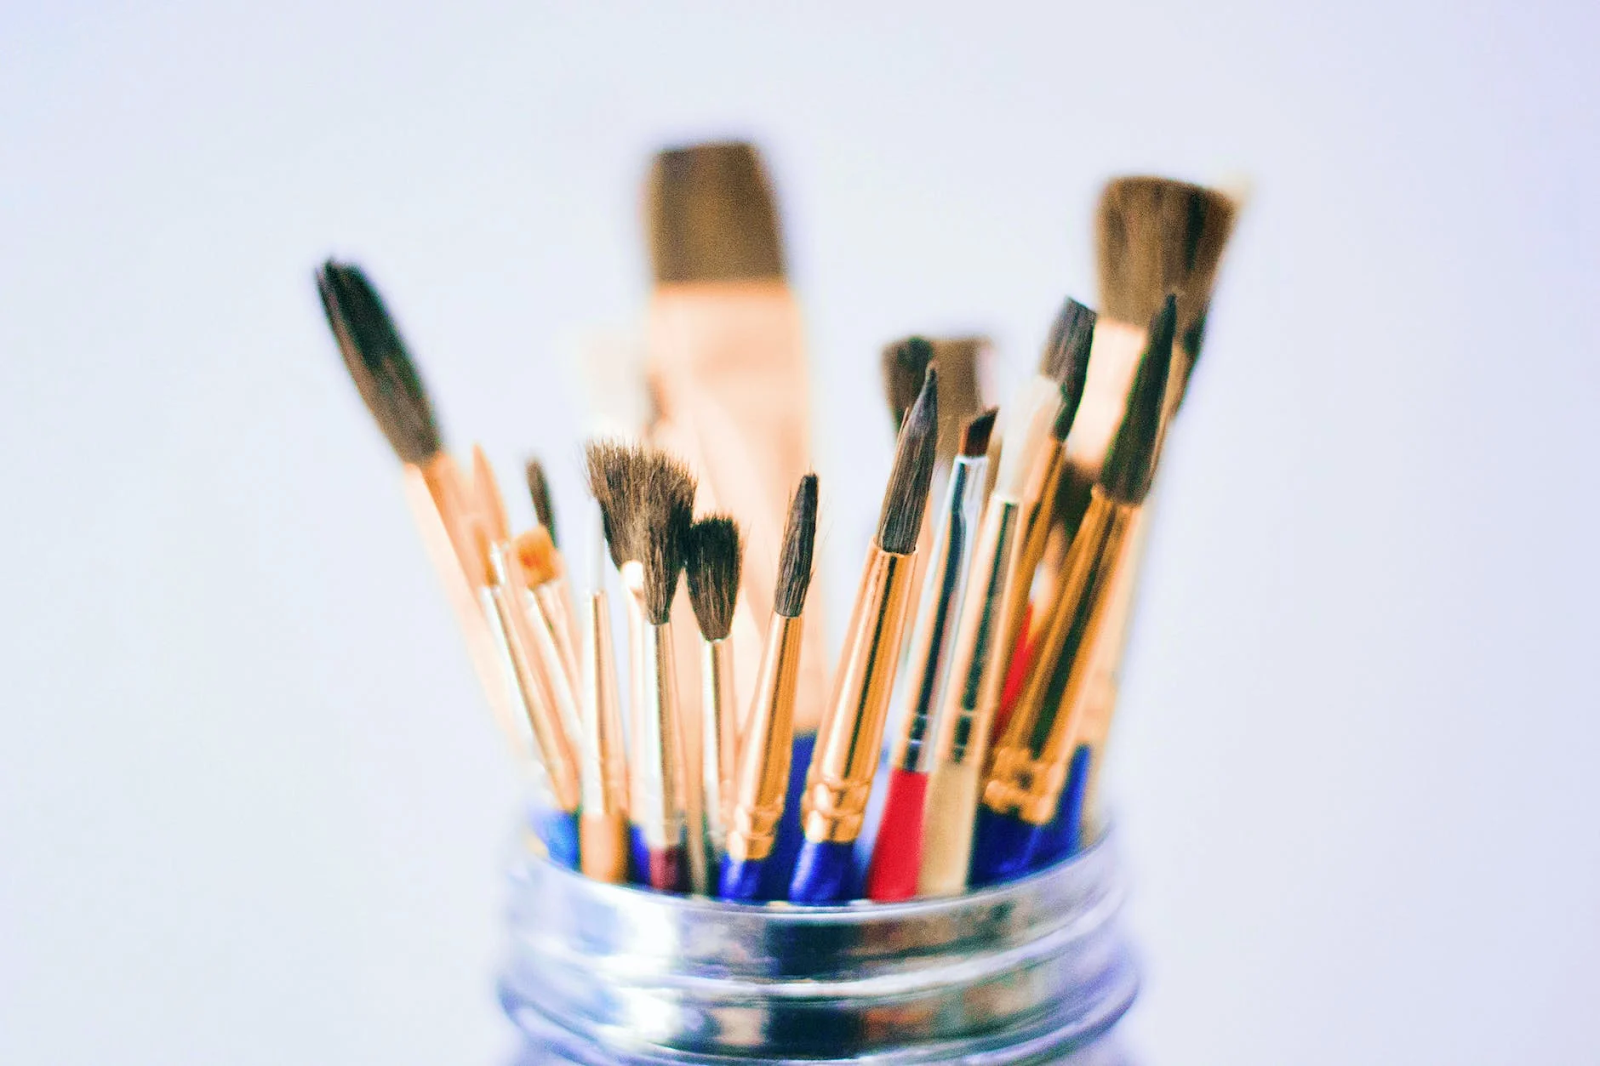
Things You Will Need To Paint Wine Glasses
- A plain wine glass
- Paintbrushes
- Blue painter's tape
- A printer
- Acrylic enamel paint that won't wash off the glass
Step 1: Wash Your Glasses
Wash any glasses you will be painting with dish soap and warm water. Let the glasses dry, and then rub them in alcohol with a paper towel to make sure they are completely clean and oil-free.
Are you looking to spruce up your wine glass collection? Taste of Purple has amazing designs that will wow any company you have over.

Step 2: Taping The Glass
Tape off any part of the glass that you don't want to paint. This will prevent any spills or drips from potentially drying on the base, stem, or any other parts you don't want to be colored. The blue tape will also be good for creating any designs you want to make when painting your wine glasses.
Step 3: Making Your Design
The hardest part of painting your wine glass will probably be thinking up a unique and pretty design. We have found that the simpler designs are most often the best as they don't overcrowd the glass. However, you are free to paint absolutely anything you want! We suggest drawing your pattern or art out before transferring it to the glass.
If you don't feel like drawing up your design in favor of something done by another artist, feel free to search the web! We have seen many beautiful wine glass paintings come from an image search. For painting an excellent wine glass without experience, the following steps work amazingly well:
1) Find a simple design or image on the internet and print it out in a small format that will fit inside the wine glass.
2) Place the image inside the wine glass and tape it against the bowl.
3) Paint over the image for a professional-looking wine glass painting!
Related: 3 Ideas for Leftover Wine
Step 4: Get Your Colors Ready
Ready your paint pallet with your acrylic enamel paints. Most can get away with using white, black, yellow, blue, and red to combine into other colors. Still, you can absolutely buy fancier metallic paints or any other unique enamel paint colors. Place amounts of paint in an old egg carton (or on a professional painter's palette if you have one). Combine your colors in any way you need to match your color scheme.
Step 5: Get Your Painting Station Ready!
Here comes the fun part. Get your painting station ready with everything you will need, from snacks and charcuterie to pouring yourself a healthy glass of wine. You might want some blankets, popcorn, candles, or anything else to make it a supremely cozy (or romantic) night in!
Step 5: Paint Your Design
Painting your design will be easy if you have taped your picture to the inside of the glass! Just trace over the lines and be careful to use a small enough brush for details. You can lighten or darken colors with black and white paint. You may want to keep a wet tissue nearby to wipe away any stray lines or drips on the glass.
When you are painting, be sure to keep the design far enough away from the lip of the glass to avoid getting your lips on the dried paint when drinking. You don't want any potentially hazardous chemicals to get into your body or the bowl of the glass.
Step 6: Add Some Nice Touches!
After you are done painting your main design, you may have had so much fun you won't want to stop. Feel free to add some extra embellishment to your glass with any dots, texture, stripes, or other decorative touches. You can even paint the stem and base of the glass to add a lot of extra colors.
Step 7: Drying the Glass
Once you are totally satisfied with your hand-painted wine glasses, you can begin the process of drying them. You may allow them to dry a few times if your design requires more than one coat of paint (this is a nice touch for many designs). You can use a blow dryer to speed up drying but ensure that you don't blow the air too close to the paint, or it will start to run.
Step 8: Cure Your Wine Glass Paintings
This is the final step you will take before you can enjoy your beautifully designed wine glasses! You can cure your hand-painted wine glasses with one of two methods:
1) Baking your wine glasses in the oven - This may seem like an extreme step, but your glasses will be totally safe in the oven at the right temperature. To do this:
- Place the wine glasses right side up on a baking sheet in the oven.
- Heat your oven to 350 degrees Fahrenheit.
- Bake the wine glasses at this temperature for 30 minutes.
- Turn the oven off and allow the glasses to cool completely before removing them.
2) You can also let your glasses air dry for around 20 days. Find a sunny spot in your house and place the wine glasses there to cure the paint. Make sure no kids or pets will interrupt the process!
Looking to add some great new wine glasses to your collection to impress guests? Take a look at our elegant glassware at Taste of Purple.

Once you have used one of these methods to cure your wine glasses, they are ready to use with the beverage of your choice. You will also be able to safely wash them in the dishwasher on the top rack, although if you really like your painting, you may not want to risk it.
Enjoy your DIY project and show your painted wine glasses off during any dinner party or occasion and keep on painting if you enjoyed the process. You may even be able to sell a few!
Related: 9 Must-See Locations in Napa Valley