
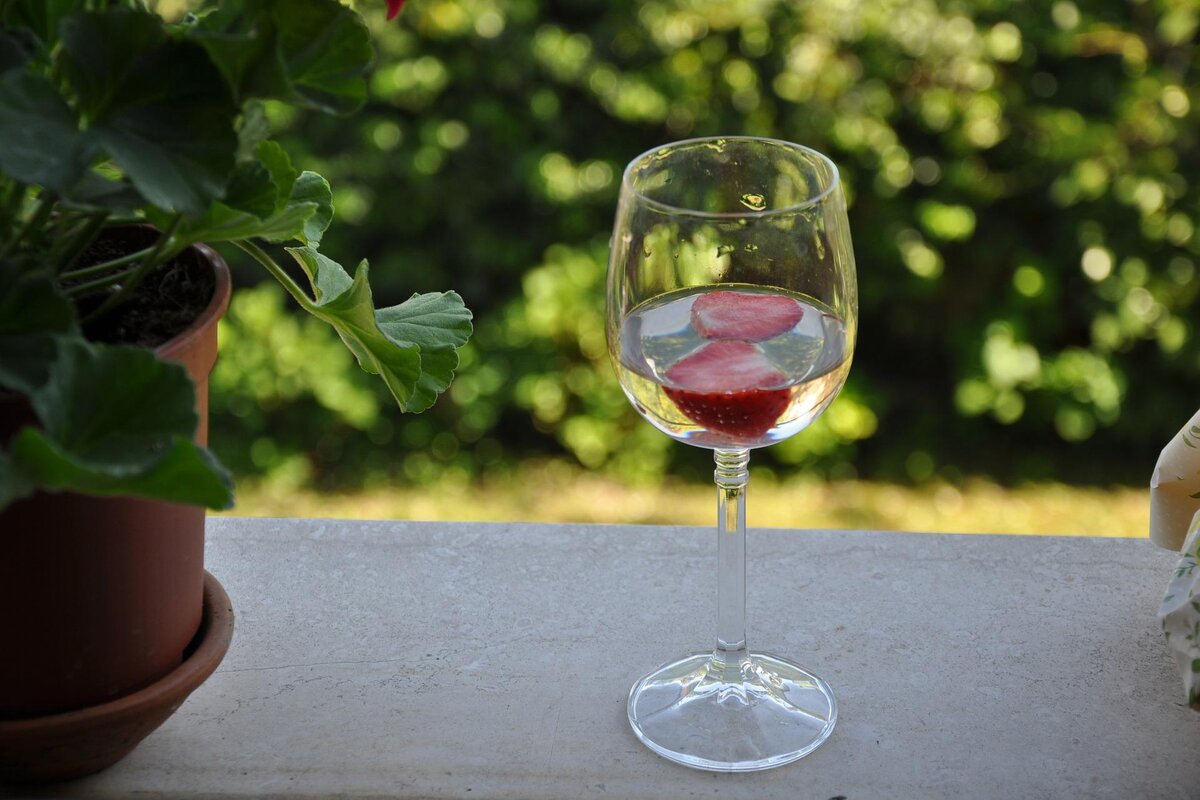
Strawberry wine brings up thoughts of sipping a cool sweet-tart beverage with a special someone on a hot summer night. Unlike a popular song, strawberry wine does not have to mean an inexpensive drink with a low-brow reputation that will cause a brutal hangover. For those interested in making their own homemade wine, strawberry wine is a great place to start. You can even make a bone-dry wine with natural fruit flavors that tastes like it costs a pretty penny. Keep reading to find out how.

An Important Tip
For those making homemade wine as a hobby, you do not have to spend big money to get a big flavor. People have been making “heritage” wines for generations with little more than Mason jars, sugar, fruit, and water. Winemaking isn’t rocket science but a balance of art and science. Like anything else, it just takes a little practice and patience to make a bottle of delicious homemade strawberry wine. Preservative tablets, detailed records, and carefully measured additives are not as important as being passionate about making your own wine. Remember, “good” wine is based on individual taste, so there are countless combinations when making homemade strawberry wine.
Related Link: Ultimate Winter Sangria: Simple & Delicious Recipe
The Right Tools for the Job
You can get the equipment for making your fruit wine for less than $60. All you need is the primary fermentation container, a secondary fermentation container, an airlock (optional), and your bottling items. A crock, a large jar, or just a big bucket will work for your main fermentation vessel. Just make sure it is 40% larger than the amount of wine you want to brew. Yeast can get a little out of hand, so give it plenty of room to bubble up. Not to mention a wide-mouth container is much easier when it comes to working with whole fruits.
For secondary fermentation, a large glass jug will do the trick. The most versatile size is a one-gallon old-school carboy. If you are making wine in volume, invest in a five-gallon size. Look for a jug with a narrow neck to reduce how much wine is exposed to air during its secondary fermentation, which is a big plus.
An airlock isn’t a must, but they are beneficial and inexpensive. You can get one for less than $3! The benefit of an airlock-releasing carbon dioxide during fermentation while keeping microbes, additional oxygen, and bugs out of your wine. The two different airlocks out there are the twin S-bubbler and 3-piece airlock. The S-bubbler has an advantage in that you can observe fermentation by keeping an eye on the moving bubbles flowing through this design.
You have quite a few options when it comes to choosing your bottles. Flip-top glass options are convenient to fill and easy to find. If you want to take a more traditional route, purchase a corker and new or even recycled bottles. These are available in different sizes, and small ones make charming gifts.
When bottling time comes, consider investing in a siphon. These bottle fillers make transferring the wine from one container to another very easy. You don’t need a special bottling container, just something with a spigot. Other items necessary for winemaking you probably already have in your kitchen. These include sieves, funnels, and everyday spoons.
Related Link: How to Make Mulled Wine at Home (Recipe)
Keep Things Clean
When it comes to keeping your equipment clean, you can use chemical sanitizers or keep the same yeast on the spoon for multiple batches of wine. If you want a happy medium, wash your tools with dish liquid and hot water. An oxygen rinse (hello Oxy Clean) isn’t a bad idea if you want to ensure your equipment is thoroughly sanitized.
CTA: Minimize your risk of spilling wine (the horror!) with these mess-proof glasses!
Winemaking Ingredients
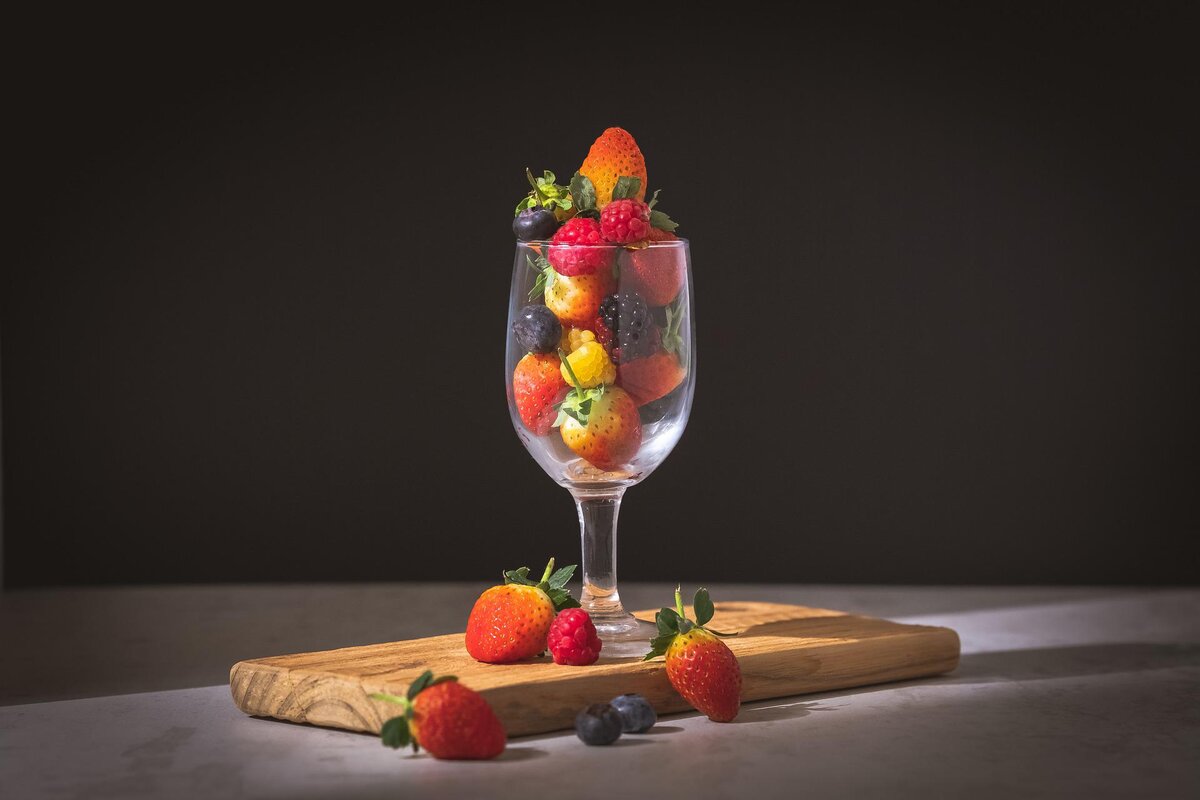
OK, here is the fun part. You need surprisingly few ingredients to make strawberry (or any fruit) wine. Start with fresh frozen, in-season fruit or frozen fruit from your market. While fresh fruit can be used, the frozen variety makes fruit mushier, thus will release juice easier and plenty of it. The next item is sugar, preferably organic cane sugar. Yes, you need sugar even if you aim to make a dry wine. When added to yeast, the sugar turns into alcohol, so even two pounds will still yield a dryer-style result. The last ingredient is water. Chlorinated water can destroy the yeast so go with filtered or bottled spring water.

Yeast
Not all yeast is created equal. This magic ingredient turns water, fruit, and sugar into wine. The old-school way of making wine is to use the wild yeast already on the fruit. While this option can be a lot of fun, it is also unpredictable. Commercial winemaking yeast offers consistent results and is a better option for rookies. There is a wide variety to choose from that will result in different flavors, styles, and alcohol levels.
The Extras
Wine additives can alter the flavor and appearance of homemade wine. These items replicate traits found in grape-based wines. The most common extras are tannins to provide a hint of tang, yeast nutrients to reactivate fermentation, acids to smooth out the harsh flavors fruit wines can sometimes have, and pectic enzymes to help the fruit break down. These additives also give the wine a clean, clear appearance.
The Process
The process for making strawberry wine is quite simple. The first step is the must or the mashed fruit and juice that is the basis of your wine. While stomping fruit has an old-world charm, it can get messy. An easier way to create the must is to simply soak fruit in sugar. Once the skin has loosened, move the fruit to your primary fermentation container and cover it with 2-5 pounds of sugar. Then, cover the container and set it aside for up to 24 hours.
Next, mix the wine yeast with non-chlorinated water and set it aside. Using a food mill or your hands, mash up the fruit to complete your must. It doesn’t have to be smooth but at least well-divided. Now is the time to mix in your additives. For strawberry wine, an acid blend and tannins deliver excellent results. Next, add enough water to 30% more than your desired outcome. So, if you make a gallon of wine, add 1.3 gallons of water. Stir in the yeast, stir, and close the container. Put the fermenter out of direct sunlight, and for the first 1-2 weeks, check your wine daily.
Related Link: How to Make Dandelion Wine (Your New Favorite Recipe)
Swirl or stir the wine at least once a day, preferably twice. When you see bubbles moving up the container's side, fermentation begins. This can take a few hours to a few days, depending on how warm the room is. Primary fermentation can be aggressive, so make sure the wine doesn’t overflow. And make sure you agitate the mixture during the entirety of primary fermentation. This process is complete when the bubbling noticeably slows down, which can be three days or as long as three weeks.
The next step is to strain the mixture and move the wine into the secondary fermentation carboy. A funnel, strainer, and sieve can make this step much more manageable. When the sieve fills up, discard the fruit until most of the solids have been strained. This step might take a few fill-ups before the remaining liquid can enter the secondary container. Make sure the wine comes to the bottom of the neck.
Place the carboy in a cool, dry place where you can keep an eye on it. This process will resurrect any stalled fermentation, so make sure you don’t have a mini Old Faithful on your hands. You know the second fermentation is complete when the airlock stops fizzing or there are no more bubbles on the side of the carboy if you didn’t use an airlock. Now is the time to add more sugar if you want a sweeter wine.
CTA: The right glasses are essential to optimizing the flavor of wine! Aerated ones like these are a joy to drink from.
Bottling & Aging
When it comes to bottles, you have dozens of options. Flip-top, corked, beer bottles, or even Mason jars! You also have a wide selection of bottle or jar sizes. Smaller bottles make great gifts, and old-school jars have a rustic charm that complements a homemade fruit wine. To bottle your creation, transfer it (minus the sediment) to clean, sanitized containers, then close it up. The final step is the toughest: aging. It takes at least a month before your wine will be suitable for drinking. Homemade fruit wines achieve their optimal flavor after 6-12 months. Like the fermentation step, keep the wine in a cool, dark place, and remember that good things come to those who wait.
Sipping Time
After a bit of patience, enjoy the fruit of your labors with a cold, crisp glass of strawberry wine. Keep it to yourself or bring a case to a summer BBQ and get ready to generate some buzz. After all, this beverage is a far cry from the syrupy, ill-reputed bottom-shelf concoction that is sometimes called strawberry wine.