
If you’re like us here at Taste of Purple, that means that you can’t get enough of wine. But who can blame you? It’s one of the best alcoholic beverages out there.
The problem with drinking wine all the time is that it can be relatively expensive (no one wants to drink the cheap stuff). So how can you still enjoy high-quality wine without putting a dent in your wallet?
You can make the wine yourself! You’ve probably never thought about it before, but it’s relatively easy to make. Read on to learn some wine-making steps and recipes.
Step 1: Source Your Grapes
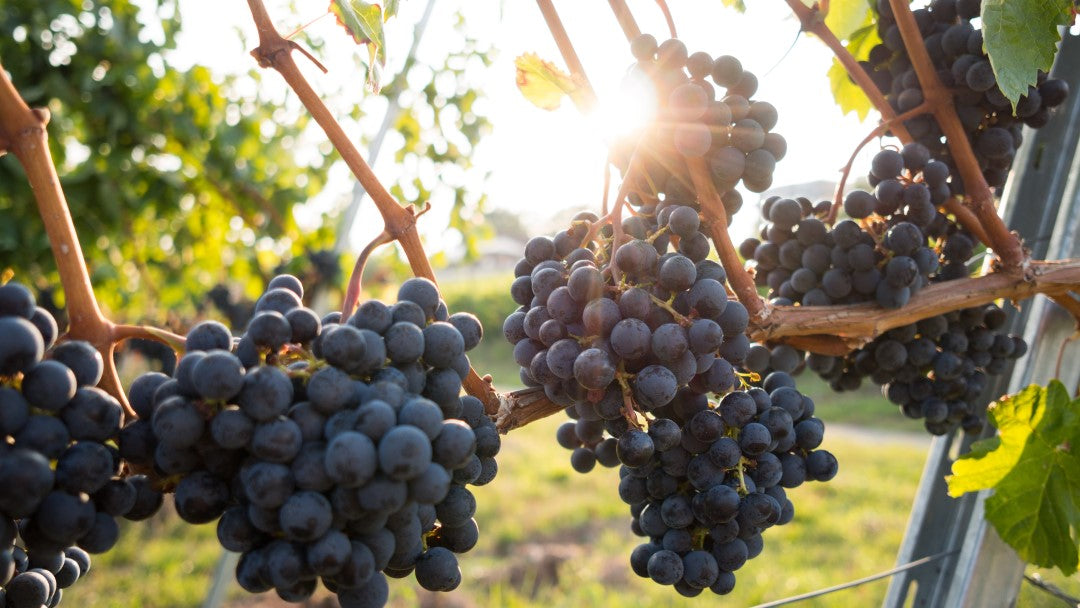
To start making your own wine from scratch, first, you’ll need to find the best grapes that you can afford. Cheap grapes mean having cheap tasting wine, so if you can afford high-quality grapes go for it.
If you can’t, don’t worry too much about it. Our recipe will make sure that your homemade wine will taste like a vintage bottle.
To make wine, you’ll need about 70 pounds of grapes. You can source your grapes from your local vineyard. They usually cost somewhere around $1 to $3 per pound, which isn’t bad. You can also order them online if there are no vineyards around your area.
Related: Wine: How to Know When You've Drunk too Much
Step 2: Let’s Get Mashing
Once you have your grapes in order, it’s time to create the grape juice. Many people would regard this as the fun part because you get to smash the grapes yourself (if you don’t mind getting dirty.)
Start by pouring all the grapes into a clean container that’s big enough to fit the load. Afterward, make sure you clean your feet thoroughly so your grapes aren’t contaminated. When that’s done, you can start stomping on the grapes.
Don’t be afraid to press down hard; the grapes won’t feel any pain. In fact, the harder you stomp on the grapes, the more red berries that will be released from the stem, resulting in better quality wine.
Step 3: Fermentation Processes
Depending on the wine you’re drinking, your grapes will have to go through different fermentation processes.
White Wine
After clearing your grape juice of seeds and stems, pour a little over the amount you want into a large container. As the grapes begin to ferment and turn into wine, you’ll lose a slight amount of the juice throughout the process.
If you see a brownish color, in the beginning, that’s part of the transformation. The wine will slowly start to turn that gold color we’re all familiar with. But you need to make sure that the container is locked airtight so that no oxygen escapes.
To further develop the fermentation process, add wine yeast to your juice. Follow your wine yeast packet instructions so you know what temperature to keep the container at. After a day or two passes, you should see foam, which signals the beginning of fermentation.

Related: How to Clean Cloudy Wine Glasses
Red Wine
Red wines don’t need an airtight container as they go through fermentation. You can put a piece of wood on the container or cover it with a towel to keep small flies and specks of dust away.
Once you add your wine yeast, stir the mixture well. Unlike white wine, red wine can start fermenting in less than 12 hours. However, it does need to be mixed at least twice a day.
As it begins to ferment, you’ll see some skins from the grapes that have floated to the top. Push them back down into the mixture to keep them wet and enhance the color of your product.
Are you designing your own wine glasses? Then learn how you can seal alcohol ink on them in this guide from Taste of Purple.
Step 4: A Waiting Game
Throughout the fermentation process, make sure that you occasionally check the sugar levels of your products. Initially, your sugar percentage will be high but will gradually get lower as the wines age.
Complete white wine fermentation ranges from a few days to a few weeks, depending on the room’s temperature. If it’s cooler, then the process will take longer. On the contrary, red wine can reach a pleasantly warm temperature during fermentation in about one or two weeks.
Once fermentation is complete, transfer the wine to a carboy so it can mature. However, while it’s in the carboy, you need to protect it from oxidization. Limit the number of times you open the carboy to prevent this. You could also add sulfites to your wine to aid in protection.
Related: How Many Glasses of Wine in a Bottle?

Step 5: Aging & Bottling
Your wine is almost at a drinkable state, but not just yet. Now it needs to mature. Check on your wine and stir it occasionally to improve the texture.
White wines take about five to ten months to mature, while red wines can take during fermentation six months to a year. When you feel like the wine tastes like something you’d pick up in a store or try in a restaurant, then it’s time to bottle it.
Your job when bottling is to make sure the lees aren’t disturbed, and the wine gets as little air exposure as possible. Try to fill each bottle about a half-inch from the top, so the cork will have space to rest.
To make the process a little more fun, you could add your own designs or create names for your new wines. If you want to, you can wait a little bit longer for your wine to mature before drinking it.
But after all the hard work, do you really want to wait any longer? Probably not, so drink up and enjoy your new wine!
Since you’ve created your own wine, you’re going to need a special glass to drink it out of. So why don’t you check out the collection we have at Taste of Purple? It’s time to drink in style.